Getting started with IoT using MQTT in Python, Node-Red and Jetson Nano or Raspberry Pi
Prerequisites
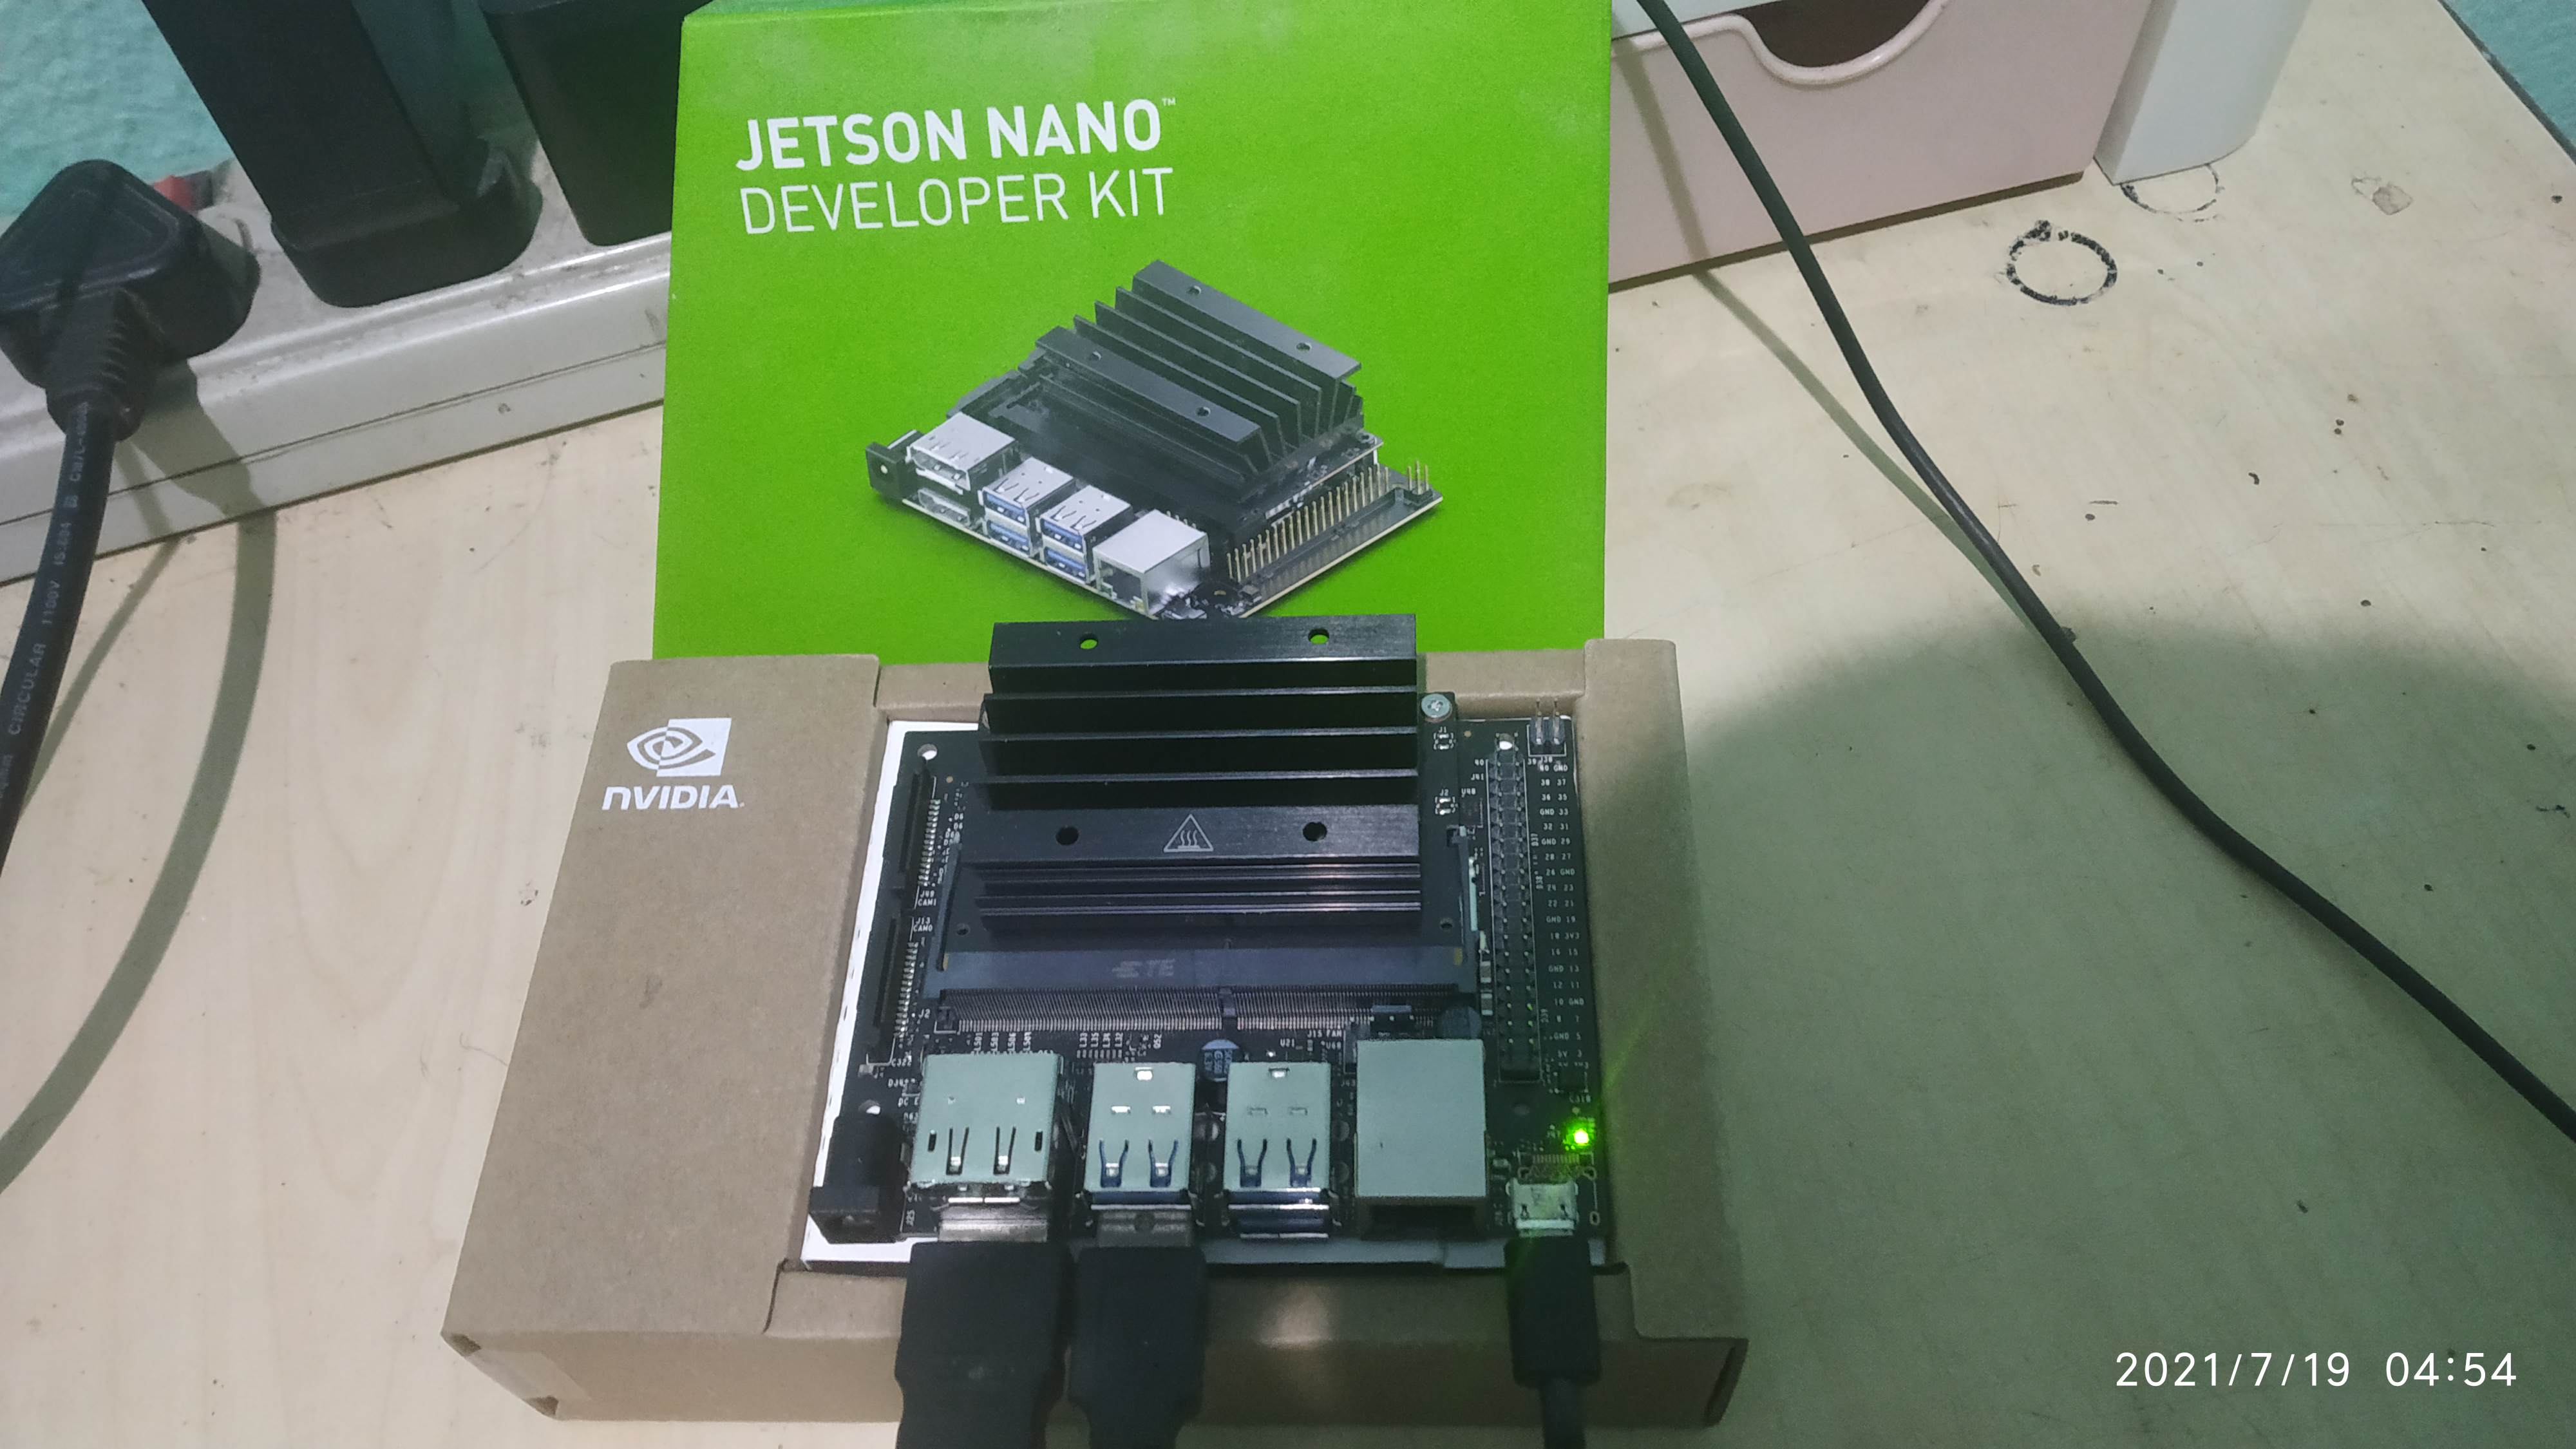
- NVIDIA Jetson Nano or RASPBERRY PI (with Wi-Fi Adapter)
- Solderless breadboard
- 220 Ohm Resistor 0.5Watt
- LEDs
Hardware Connections
The NVIDIA Jetson Nano has 40 general purpose input/output pins (GPIO). We will be using Pin 7 and ground as output to the led.
- On the breadboard connect the 220 Ohm resistor to the positive pin of the LED.
- Connect the other end of the resistor to the GPIO pin 7 through a Jumper wire of the Jeston Nano.
- Connect the negative pin of the LED to the GND pin through a Jumper wire.
Setting Up the Python Libraries
Install paho-mqtt
sudo pip3 install paho-mqtt
The Code
Create a file named mqtt_gpio.py
gedit mqtt_gpio.py
write the code given below and save it.
#!/usr/bin/env python
# Author: Ashutosh Mohanty
# Date created: 19/07/2021

import RPi.GPIO as GPIO
import paho.mqtt.client as mqtt
import paho.mqtt.subscribe as subscribe
import time

print("Starting now! Press CTRL+C to exit")
GPIO.setwarnings(False)

def print_msg(client, userdata, message):
    # Pin Definitions
    output_pin = 7
    # Pin Setup:
    # GPIO.setmode(GPIO.BCM)  # For Raspberry Pi
    GPIO.setmode(GPIO.BOARD)  # For Jetson Nano
    # set pin as an output pin with optional initial state of HIGH
    GPIO.setup(output_pin, GPIO.OUT, initial=GPIO.HIGH)

    message_topic = message.topic
    message_payload = message.payload
    message_payload = message_payload.decode('utf-8')
    print("%s : %s" % (message.topic, message.payload))

    if message_payload == '1':
        print("Outputting {} to pin {}".format(GPIO.HIGH, output_pin))
        GPIO.output(output_pin, GPIO.HIGH)
        print("Light 1 turned ON")
    elif message_payload == '0':
        print("Outputting {} to pin {}".format(GPIO.LOW, output_pin))
        GPIO.output(output_pin, GPIO.LOW)
        print("Light 1 turned OFF")
    print("======================")
subscribe.callback(print_msg, "sensors/light1", hostname="mqtt.eclipseprojects.io")
In the last line of code the MQTT topic and hostname of the broker is declared. I have used the MQTT server hosted by Eclipse Foundation. You can use your self hosted MQTT server too.
I have used sensors/light1 as the MQTT topic. The python script is subscribing to the topic and checking the message payload.
If message_payload is 1 it turns ON the light by outputting GPIO.HIGH in output_pin (Pin 7).
If message_payload is 0 it turns OFF the light by outputting GPIO.LOW in output_pin (Pin 7).
Check the manual page on how to use topic properly https://mosquitto.org/man/mqtt-7.html
Iot Dashboard UI in Node-RED
Install Node-RED either on your local device or on cloud. we will be using the node-red dashboard to controll the led.
Installation
-
Install Node.js https://nodejs.org/en/download/package-manager
-
Install Node-RED https://nodered.org/docs/getting-started/local
-
Install node-red-dashboard https://flows.nodered.org/node/node-red-dashboard
Deploying
Start node-red from command line and open the web interface in your browser.
You can create a flow or import the flow i have created from my Github
The flow publishes 0 and 1 to the MQTT topic when the switch is turned ON or OFF.
Deploy the flow and go to the dashboard UI http://127.0.0.1:1880/ui
Running the code
Now run the mqtt_gpio.py
python3 mqtt_gpio.py
Now You can ON OFF the LED from the Web dashboard UI.
Youtube Video
Source code and Node Red Flow
https://github.com/AshutoshGeek/MQTT-Python-Jetson-Nano